

A clean, bubble-free fit matters more than force during a rain sensor gel pad replacement. Inspect the pad and contact surfaces for bubbles or contamination, warm the red protective cover for only a few seconds, and place the sensor carefully after removing the cover. If the sensor is glued to the windshield, take out the ignition key and keep heat applied to the outside of the glass at or below 25°C while detaching it.
It’s easy to assume a new pad will work as soon as it’s in place. But dust, trapped air, or a sensor sitting unevenly against the glass can affect its contact. This guide explains how to check the pad, prepare both contact surfaces, remove the protective cover, and position the sensor to help prevent bubbles. It also explains when to stop and leave a glued sensor to an auto glass professional, especially if removal could damage the sensor or windshield.
Key Takeaways
- Warm the red protective cover for only a few seconds, then place the exposed pad promptly to limit dust contamination.
- Before detaching a glued sensor, remove the ignition key and keep heat on the outside of the windshield at or below 25°C. Avoid blades that could scratch the sensor’s optical surface.
- Match the replacement pad to your vehicle’s sensor and check its fitment details before installation.
- Clean both contact surfaces and inspect the finished installation for bubbles or contamination. A sensor or windshield that may be damaged during removal is a reason to seek professional auto glass help.
Removing the pad’s protective cover
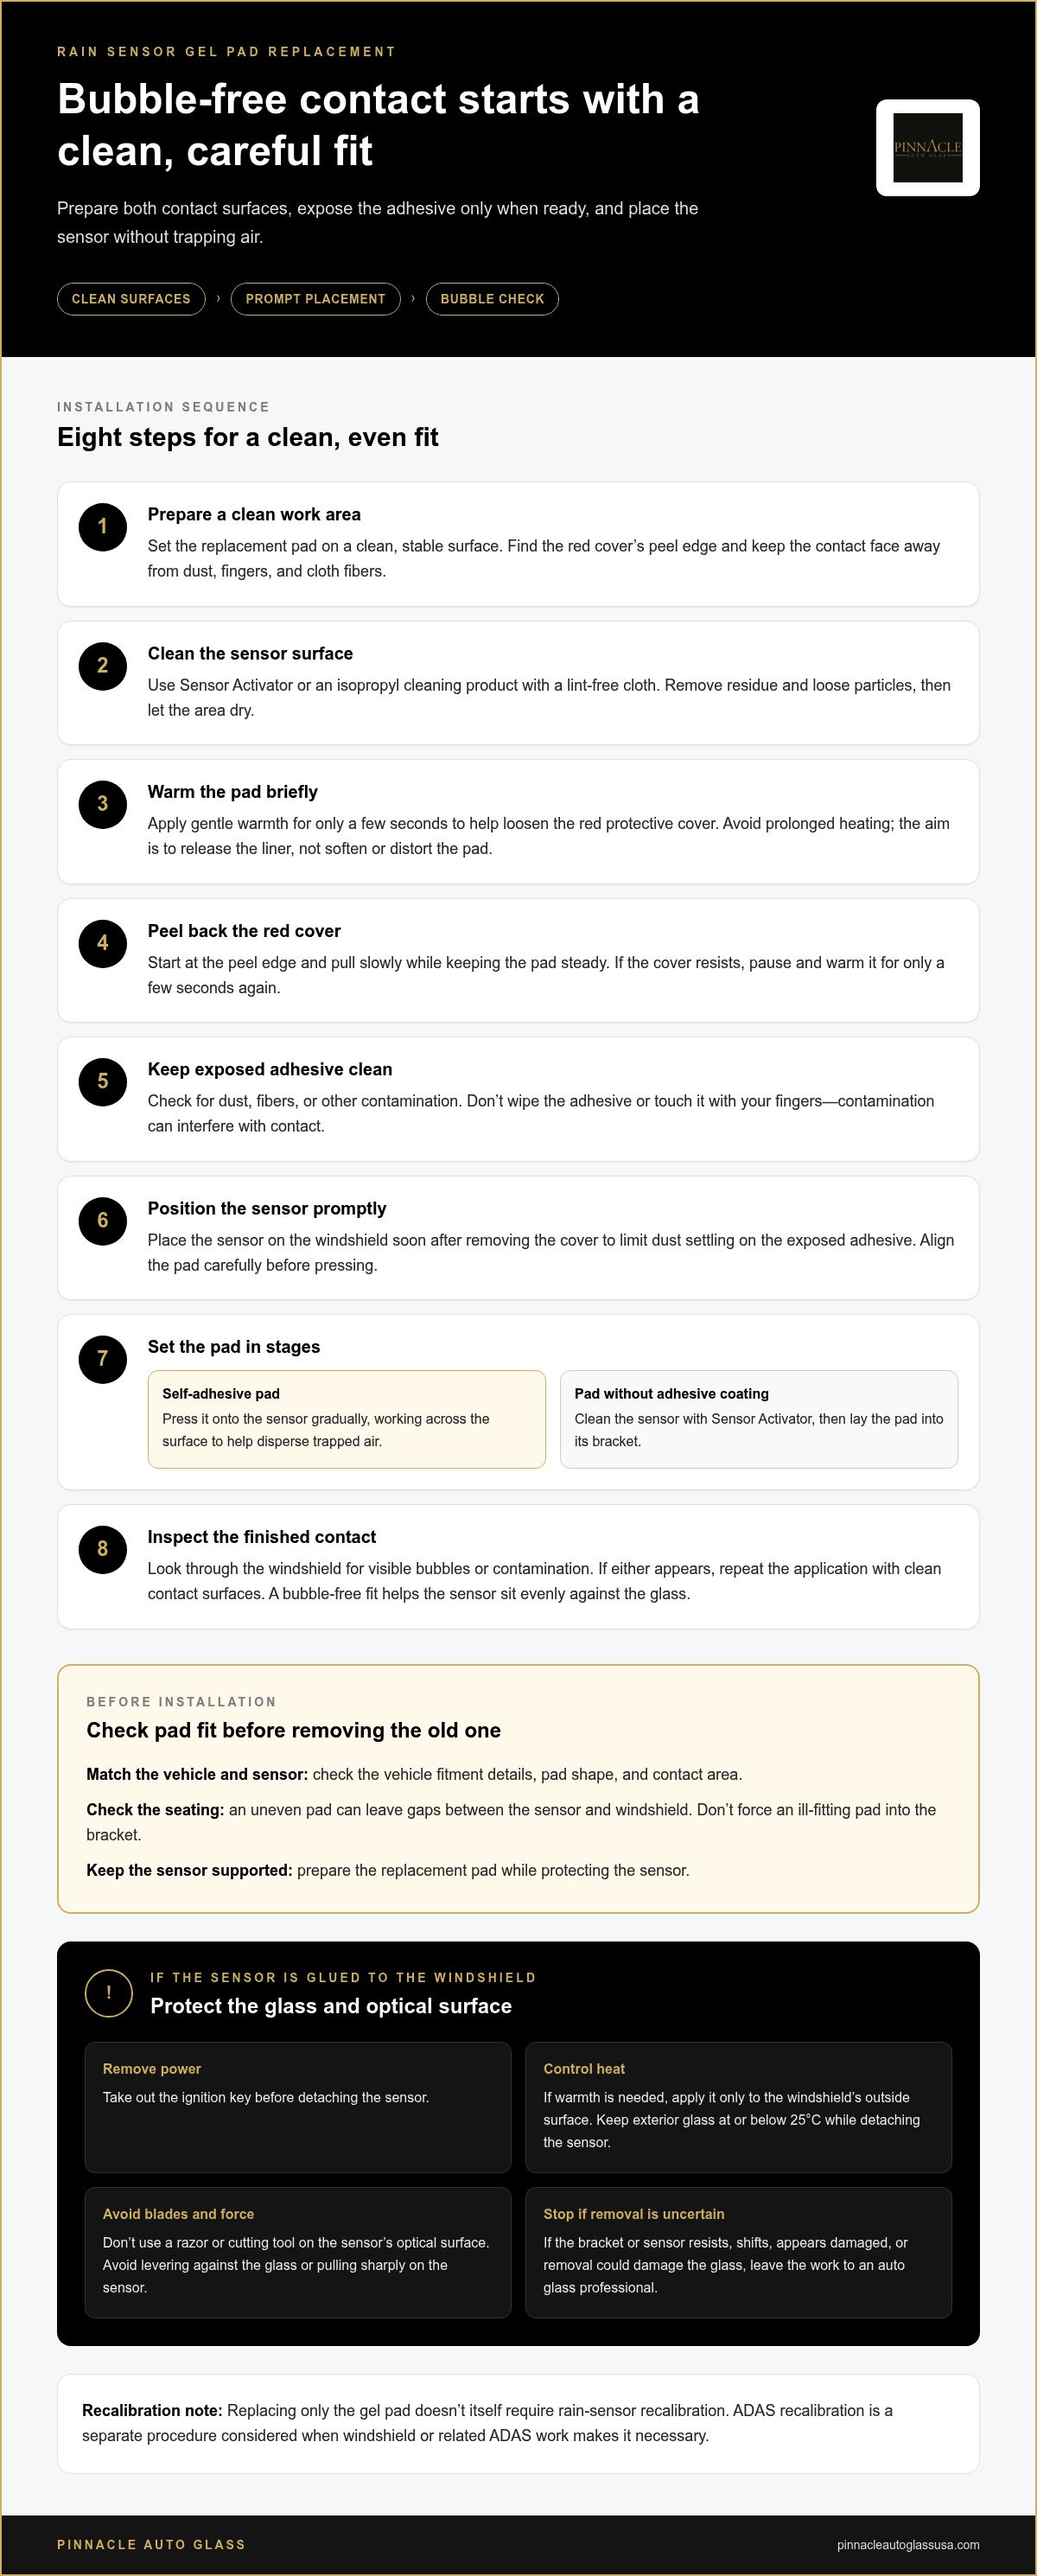
- Prepare the work area. Set the replacement pad on a clean, stable surface. Identify the red protective cover and its peel edge. Keep the exposed contact face away from dust, fingers, and cloth fibers. A clear workspace helps prevent contamination during removal.
- Clean the sensor. Wipe the sensor surface with Sensor Tack sensor activator or an isopropyl cleaning product. Use a lint-free cloth. Remove residue and loose particles before exposing the pad’s adhesive surface. Let the cleaned area dry before proceeding.
- Warm the pad briefly. Apply gentle warmth to the adhesive pad for only a few seconds. This can help loosen the red protective cover. Avoid prolonged heating. The goal is to ease the liner’s release, not soften or distort the pad.
- Lift the red cover. Start at the peel edge and pull the cover back slowly. Keep the pad steady and avoid touching its exposed adhesive. If the cover resists, pause and warm the pad for only a few seconds again.
- Keep the adhesive clean. Check the exposed surface for dust, fibers, or other contamination. Don’t wipe the adhesive or handle it with your fingers. Dust can interfere with the pad’s contact against the sensor.
- Position the pad promptly. Place the sensor on the windshield soon after removing the protective cover. This limits the time dust can collect on exposed adhesive. Align the pad carefully before pressing it into place.
- Set the pad in stages. For a self-adhesive pad, press it onto the sensor gradually. Work across the surface to help disperse trapped air. For a pad without adhesive coating, clean the sensor with Sensor Activator, then lay the pad into its bracket.
- Inspect the finished contact. Look through the windshield for visible bubbles or contamination. If either appears, repeat the application with clean contact surfaces. A bubble-free fit helps the sensor sit evenly against the glass.
Safely detaching a glued sensor from the windshield
A metal bracket glued to the windshield may secure the sensor. Protect both the glass and sensor before loosening anything.
Replacing only the gel pad doesn’t itself require rain-sensor recalibration. ADAS recalibration is a separate procedure, considered when windshield or related ADAS work makes it necessary.
Confirm Gel Pad Compatibility
Match the replacement pad to your vehicle’s rain sensor before removing the old one. Check the vehicle fitment details, pad shape, and contact area. A pad that sits unevenly can leave gaps between the sensor and windshield, so don’t force an ill-fitting pad into the bracket. Keep the sensor supported while preparing the replacement.
Gather Tools and Materials
Set out the replacement gel pad, a lint-free cloth, and Sensor Activator or an isopropyl cleaning product. Use them to clean the sensor and windshield contact areas before fitting the pad. Keep its protective cover in place until installation. Don’t use a razor blade or cutting tool on the sensor’s optical surface, which can be scratched and rendered unusable.
- Remove sensor power. Take out the ignition key before detaching the glued sensor. This removes power from the sensor unit during the work.
- Control the heat. If warmth is needed, apply it only to the windshield’s outside surface. Keep the exterior glass at or below 25°C while detaching the sensor.
- Release the bracket carefully. The metal bracket is glued to the windshield. Avoid levering against the glass or pulling sharply on the sensor. Stop if the bracket or sensor resists, shifts, or appears damaged.
- Protect the optical surface. Don’t scrape away pad residue with blades or cutting tools. Clean the sensor with Sensor Activator or an isopropyl product and a lint-free cloth.
- Know when to stop. If the bracket remains firmly attached or removal risks glass damage, leave the work to an auto glass professional. Professional auto glass support can help when safe removal is uncertain.
What gel pad is compatible with my vehicle’s rain sensor?
- Start with your vehicle details. Record the make, model, and model year before choosing a pad. Rain sensors can use different pad shapes and part numbers, even within one vehicle range. Match the listing to your specific application.
- Check the part number. An Audi-compatible listing identifies part number 8U0955609. Another Audi-compatible adhesive gel pad listing identifies 4E0955609. Treat these as distinct identifiers, not interchangeable numbers. Match the number to the sensor and vehicle fitment.
- Compare the listed model years. One Audi-compatible adhesive pad listing specifies fitment for model years 2007 through 2015. Use that range only when it matches your Audi. A similar-looking sensor does not establish compatible fitment.
- Confirm the pad’s dimensions. A Vauxhall-compatible acrylic pad measures 34 by 27 mm. Compare listed dimensions with the sensor’s contact area. A pad that extends beyond the contact surface or leaves gaps may not seat correctly.
- Check Lexus identifiers carefully. A Lexus LS460 owner identified 89944-50021 as the rain-sensor tape part number. Forum users also noted 3 or 4 aftermarket windshield part numbers for that model. Match the pad to the vehicle and sensor, not just the model name.
- Compare material and construction. Listings may describe a pad as acrylic or gel. Check whether it has a self-adhesive coating. A non-adhesive pad sits in the sensor bracket, while a self-adhesive pad attaches to the sensor.
- Inspect the old pad’s footprint. Compare its outline and contact area with the replacement. Check that the pad sits flat inside the bracket. Don’t trim a replacement or force it into place to compensate for a mismatch.
- Choose by fitment, not appearance alone. Confirm the vehicle application, part number, dimensions, and pad construction together. For example, the Vauxhall 34 by 27 mm measurement does not establish fitment for an Audi or Lexus sensor.
Can I replace a rain sensor gel pad myself, or should I use an auto glass shop?
- Assess what needs removal. Replacing an exposed pad is different from detaching a sensor glued to the windshield. If the metal mounting bracket must be loosened, weigh the risk of damaging the sensor or glass before proceeding.
- Choose DIY for a straightforward pad change. Work only if the sensor is accessible and its bracket sits firmly. Clean the windshield area thoroughly with alcohol, and keep the replacement pad’s adhesive free from dust and fingerprints.
- Stop if the bracket moves. A loose bracket may prevent the pad from being compressed against the windshield. Without firm contact, the rain sensor may not work properly, even with a new pad.
- Consider recent windshield work. A Lexus LS460 owner reported a replacement windshield bracket attached at one point instead of the two points he expected. The technician reattached it with mirror-mounting adhesive.
- Ask for bracket inspection during glass work. The Lexus LS460 owner recommended having the installer check that the rain-sensor bracket is firmly attached before installing the windshield. Sound mounting helps the pad make contact.
- Watch sensor behavior after fitting. One Lexus LS460 owner reported automatic wipers swiping every 30-60 seconds, even in heavy rain. A symptom like this warrants checking both the pad contact and bracket stability.
- Interpret bubbles carefully. A Lexus LS460 owner reported that a 3 mm bubble between the replacement pad and windshield didn’t seem to affect sensor function. That single report doesn’t establish that bubbles are harmless; inspect the full contact area.
- Use professional help when removal is uncertain. A glued sensor, loose bracket, or concern about glass damage can make a DIY attempt unsuitable. For fleet vehicles needing glass assistance, get help with fleet glass work.
Pinnacle Auto Glass: Windshield Replacement
Pinnacle Auto Glass provides windshield replacement when damage or installation issues call for new glass. A loose or damaged rain-sensor bracket can affect how the gel pad contacts the windshield, so replacement work is a practical time to address the glass and sensor mounting together.
After windshield replacement, vehicles with ADAS may need recalibration to help ensure their safety features function properly. Pinnacle Auto Glass handles ADAS sensor recalibration when required, and also offers windshield repair for repairable glass damage and Fleet, Commercial & RV Services.
If the sensor bracket is unstable, the windshield is damaged, or you’re unsure about removing the sensor, contact Pinnacle Auto Glass to discuss the right glass solution. You can also visit Pinnacle Auto Glass online.
Keep Your Next Drive in Clear Focus
A careful rain sensor gel pad replacement can restore a clean interface between the sensor and windshield. After installation, pay attention to how the system responds in changing weather. If the wipers behave inconsistently, consider the overall glass and sensor setup rather than repeatedly adjusting the pad.
Pinnacle Auto Glass can help when the issue extends beyond the pad, with windshield replacement, windshield repair, and ADAS System Recalibrations. Choose the next step based on the glass condition and work required. If you’re unsure whether the windshield or sensor setup needs attention, professional assessment can help clarify the solution.
Contact Pinnacle Auto Glass for help with your windshield needs. With the right next step, you can move forward with greater confidence in your vehicle’s glass and driver-assistance systems.
Frequently Asked Questions
What is a rain sensor gel pad and what does it do?
A rain sensor gel pad creates an optical contact layer between the sensor and windshield. It helps the sensor detect moisture through the glass so automatic wipers can respond. The pad sits between the sensor and windshield, and proper mounting helps maintain contact with the glass. Its shape and clean contact surfaces matter because gaps or contamination can disrupt the sensor’s view.
How do I know when a rain sensor gel pad needs replacement?
Inspect the sensor-to-glass area for visible contamination, damage, or bubbles, and note any changes in automatic wiper response. Erratic operation can point to poor pad contact, but a loose mounting bracket can also prevent proper compression. During a rain sensor gel pad replacement, check that the bracket sits securely rather than assuming the pad is the only cause. If symptoms persist, reassess the mounting setup.
How do I replace a windshield rain sensor gel pad step by step?
First, identify a pad that matches your vehicle’s sensor. Clean the sensor and windshield contact areas with an appropriate sensor cleaner or isopropyl product and a lint-free cloth. For a rain sensor gel pad replacement, remove the protective cover without touching the pad’s adhesive, then fit it according to its construction. Position the sensor carefully, inspect the contact area through the glass, and correct visible contamination or bubbles.


